If you run an eCommerce business, fashion brand, or photography studio, you already know that image quality is everything. A photo may have the right subject and perfect composition, but if the colors don’t match reality, it can damage trust and reduce sales. That’s why learning how to do advanced color correction is so important. In this complete guide, I’ll explain the tools you need, Photoshop workflows, Mac keyboard shortcuts, and professional pricing ideas so you can decide whether to do it yourself or outsource to an expert.
Advanced color correction is more than just sliding brightness or contrast. It’s a combination of adjustments: white balance, saturation, shadows, highlights, selective color changes, and sometimes masking. This ensures your jewelry, clothing, or product images look true-to-life and appealing on every platform—Amazon, Shopify, eBay, or your website.
Table of Contents
What Is Advanced Color Correction?
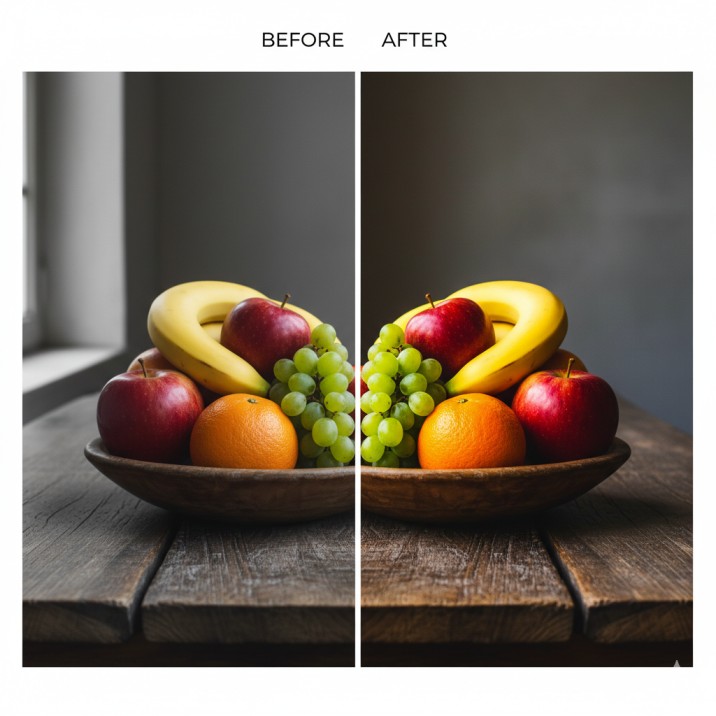
Advanced color correction means bringing your photo back to its natural state or enhancing it for professional results. Unlike simple edits, this involves fixing skin tones, balancing multiple light sources, correcting mismatched colors, and making sure images are consistent across your entire product catalog.
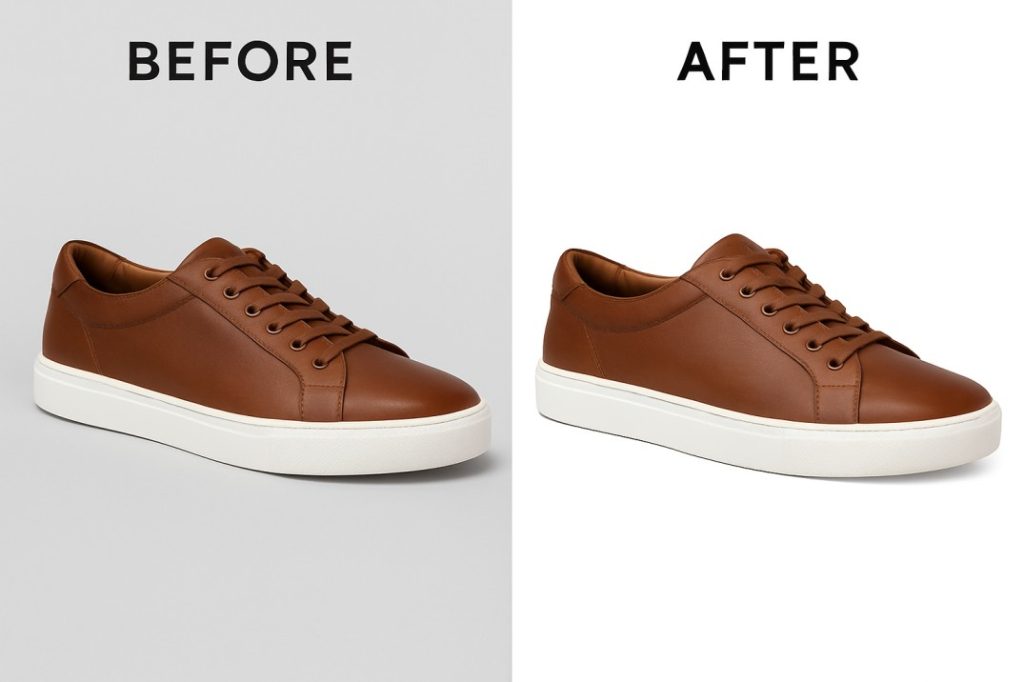
For example, fashion photographers often deal with skin tones looking too red or too pale. Jewelry sellers face reflections and odd color casts. Shoe brands might struggle with maintaining true fabric colors under studio lighting. Advanced color correction solves all these issues.
Photoshop Tools for Advanced Color Correction
If you want to master how to do advanced color correction, you need to understand the core Photoshop tools:
-
Curves (Ctrl+M on Windows / Command+M on Mac) – Adjusts brightness and contrast with precision by working on individual color channels (RGB). Perfect for fixing underexposed or overexposed areas.
-
Levels (Ctrl+L / Command+L) – Balances shadows, midtones, and highlights. Essential for creating depth in flat-looking product images.
-
Hue/Saturation (Ctrl+U / Command+U) – Changes overall saturation or adjusts specific color ranges. Helps reduce overly bright reds or boost dull blues.
-
Color Balance (Ctrl+B / Command+B) – Adjusts tones across shadows, midtones, and highlights. Ideal for removing unwanted color casts.
-
Selective Color – Fine-tunes individual colors without affecting others. For example, making a red dress richer while leaving skin tones untouched.
-
White Balance Tool (Lightroom & Camera Raw) – Removes unnatural tints from studio lighting setups.
-
Layer Masks – Apply corrections only to selected areas, such as fixing skin without changing the background.
-
Blend Modes – Adjust how color corrections interact with the original photo. “Soft Light” mode, for instance, enhances contrast naturally.
When working on Mac, Photoshop shortcuts change slightly. Instead of Ctrl, you use Command. For example:
-
Command+M for Curves
-
Command+L for Levels
-
Command+U for Hue/Saturation
-
Option (Alt) for precise selections
These shortcuts save time and make bulk corrections much faster.
Step-by-Step Workflow: How to Do Advanced Color Correction

Step 1: Import the Image
Open Photoshop and load your image. If you’re on Mac, simply drag and drop your RAW file into Photoshop or use File > Open. RAW files are best because they hold more color data.
Step 2: White Balance Fix
Use the White Balance Eyedropper tool in Camera Raw to select a neutral gray area. This immediately removes unnatural tints like yellow from indoor lighting or blue from outdoor shadows.
Step 3: Adjust Exposure with Curves
Go to Image > Adjustments > Curves. Drag the diagonal line slightly up for brightness or down for shadows. For Mac users, Command+M brings up Curves directly.
Step 4: Correct Contrast with Levels
Open Levels and move the sliders to adjust dark and bright tones. If a jewelry photo looks flat, this step makes diamonds sparkle.
Step 5: Fine-Tune Saturation
Press Command+U on Mac (Ctrl+U on Windows). Reduce oversaturated colors that look fake, or boost faded ones for eCommerce-ready shots.
Step 6: Selective Adjustments
Sometimes only one color is wrong. Use Selective Color to adjust individual tones, such as fixing a yellowish-white shirt without touching the model’s skin.
Step 7: Remove Color Casts
Go to Color Balance and adjust shadows, midtones, and highlights. This tool is especially useful for removing the green tint often caused by fluorescent lights.
Step 8: Local Adjustments with Masks
Add a mask to your correction layer and brush over only the parts you want to change. For example, you can brighten shoes while leaving the background untouched.
Step 9: Final Sharpening
Once the colors are corrected, sharpen the details slightly to highlight fabric textures or jewelry edges. Use Unsharp Mask or Smart Sharpen.
Advanced Techniques for Professionals
-
Batch Processing: Use Photoshop Actions to apply the same correction to 100+ images at once.
-
Lightroom Sync: If you work with fashion catalogs, correct one image and sync the settings across the entire shoot.
-
Mac Color Profiles: On Mac, ensure your monitor uses sRGB or Adobe RGB profiles for consistent results. This avoids mismatches between your editing screen and client displays.
-
Soft Proofing: Check how the image will look when printed vs displayed online.
Pricing Ideas for Advanced Color Correction
If you want to outsource, here’s what professionals charge:
-
Basic Correction (exposure, white balance): $0.25 – $0.50 per image
-
Advanced Correction (fashion, eCommerce): $0.50 – $2.00 per image
-
High-End Retouching (jewelry, cosmetics): $3 – $10 per image
-
Bulk Packages: $300 – $500 for 1000 images with 24-hour delivery (many studios use 30+ editors to process 3000+ images daily)
Outsourcing is ideal if you run an Amazon or Shopify store and don’t want to spend hours learning Photoshop.
Here is a similar content blog: How to Rotate an Image in Photoshop
FAQ on Advanced Color Correction
Q1. How long does advanced color correction take?
👉 For a single product image, 3–10 minutes. For 100 images, 3–6 hours.
Q2. Can I learn it myself or should I outsource?
👉 You can learn Photoshop basics, but outsourcing saves time for bulk editing.
Q3. What’s the difference between color correction and color grading?
👉 Correction fixes reality, grading adds creative mood (like cinematic tones).
Q4. Do Mac users need special tools?
👉 No, Photoshop works the same. Just learn the Command-based shortcuts.
Q5. Is it worth paying for advanced correction?
👉 Yes. Better-looking product photos directly improve sales and reduce returns.
Conclusion
Now you know how to do advanced color correction step by step using Photoshop, both on Windows and Mac. From fixing exposure to selective adjustments, these tools help you produce images that are not only visually stunning but also accurate and trustworthy.
If you run an eCommerce business, advanced correction is a must-have. Buyers judge products by photos, and if the color doesn’t match reality, you risk losing sales. That’s why outsourcing to professional photo editors is often the smartest choice. With affordable prices, bulk options, and fast delivery, you can focus on your business while experts handle your images.