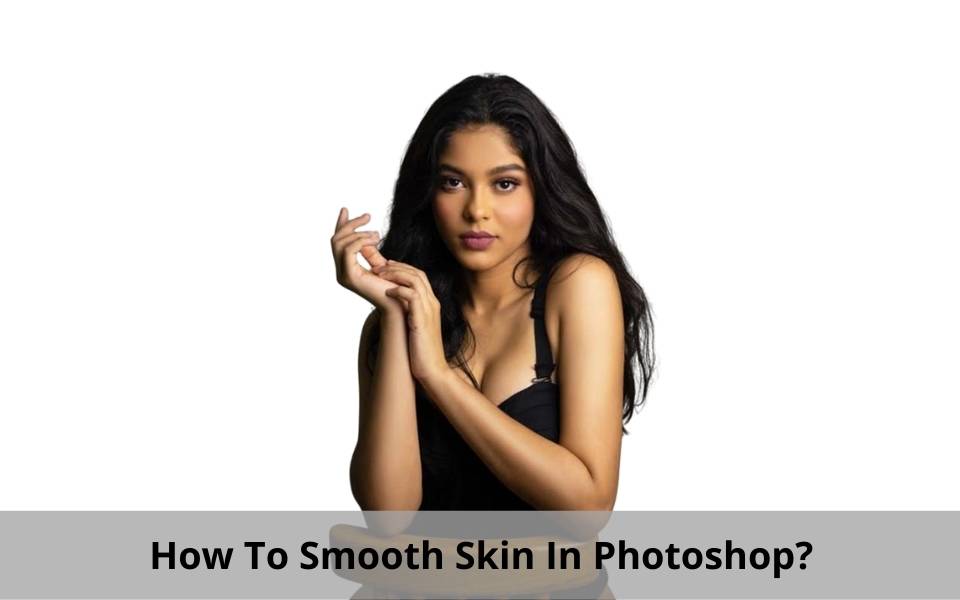
Every photographer always tries to present his model in an amazingly beautiful way. After taking a picture of the model, it is the job of a photographer to remove the stains and unnecessary things from her face, remove any imperfections from the picture, and re-decorate the skin. Any new photographer has the first question. What are the methods to smooth the skin in Photoshop? How to smooth skin in Photoshop? We will discuss this issue with you today.
A professional photographer spends hours and hours in front of their computer to remove skin, cellulite, and blemishes for portrait, glamour, and model photography until the image is to their liking. Because their purpose is to make anyone’s picture look captivating and eye-catching at first sight.
Table of Contents
How do you smooth and soften the skin in Photoshop?
You will benefit immensely from our tutorial because we will show you in this tutorial how to smooth and soften the skin in Photoshop. First, we will show a simple process through which you can create silky and radiant skin very easily and quickly. Then I will highlight the more advanced processes used by professionals through tutorials.
If you want to get a good idea through this tutorial, you need to follow it step by step. Now let’s learn how to smooth and soften the skin in Photoshop? First, open your Photoshop and select an image.
How do you smooth skin in Photoshop without losing texture?
Adobe Photoshop has various techniques to smooth and beautify the skin. If you know that, anyone can easily make the skin of his chosen image very smooth and beautiful. However, many times when the skin becomes very smooth, imitation, and synthetic to make it more beautiful, it looks very annoying. Today we will show you a very simple way through which you will learn a very simple technique on how to preserve the texture of pores and make the skin fairly smooth.
As in the preview of the final image:
First, take a good look at the final image we created

Now look at the original picture

Before we start work, take a look at the original image as it was.
Step: 1- Select a picture

First, you need to select a picture. Look just like we chose such a picture. Now you need to duplicate the background layer. I will drag the layer to the new layer icon just to the bottom right of the Layer Absorption palette. Now you need to set a new level of blending mode. Click on the option and you will see the Vivid Light option. Select it.
Now you need to create a duplicate layer. To create it, select Layers> Duplicate Layer and click Ctrl or ⌘J.
Now I will show you how we will work with the spot healing brush tool. You can see the toolbar icon looks a bit like a bandage with a bump on it. We will now use a soft brush tool that may be about 30-35% hardness equal to the amount that will be set to cover the content.

We will now select the size of the brush a little larger than the spots that we will remove. For this, we can easily select the size of the brush using the bracket key according to our convenience.
Now place the much on the spots and click. See the magic is going away! Using these magic brush tools in Photoshop using information from the area around the image that has disappeared seamlessly. If your spotted spots do not disappear completely, we will clear a little more with a larger brush. We will continue to clean the spots until we can give a clear skin.
How to Smooth Skin with Photoshop
Now we will show three techniques to smooth the skin in Photoshop. Keep in mind that it is very easy and useful for portrait photographers. The latest technique is a more advanced method, but it retains the texture of the skin.
Keep in mind that all procedures add silkiness but give the skin a silky smoothness all the time.
Blur Tool
In Photoshop we will use the blur tool as the easiest way to smooth the skin. Notice here that this toolbar looks exactly like a water drop. With this tool, we will do the job of smoothing the skin. However, this does not mean that the picture will be purely natural. But it will be much better than the previous picture.
Step 1 – Create a New Layer

By selecting the “Blemish Removal” layer we will now copy to a new layer. See how: Layer> Duplicate Layer (Ctrl or ⌘J). Here I have labeled a new layer “Smooth Skin 1”.
Step 2 – Add Blur
From here we will select the blur tool and make sure that the percentage is set to 100%. I will draw spots on the skin of the model I have selected. I will work on the part that is vague here. You must avoid blurring the eyes, hair, lips, background, or clothing while working.
If you see that the spots are very strong then you can try to undo them using the blur tool (Ctrl or ⌘Z) and if you reduce the percentage you will see the comparison before and after the pictures yourself.

Filter Blur
If you want to add more control over the softening effect you need to use the filter blur instead of the blur tool. You can also use Gaussian blur or surface blur as a side effect. Using Gaussian blur will add a more romantic hue to your chosen image. Choose the one that you think is best for you after looking at both types of opacity created now.
Step 1 – You need to create a new level.
Now select the “Blemish Removal” layer and copy to a new layer. For example Layer> Duplicate Layer (Ctrl or ⌘J) We have labeled our new layer “Smooth Skin 2” here.

Step 2 – I will add blur here
Now we go to the filter dropdown menu. From here I will select Gaussian blur.

You will not feel too blurred to see it. Because it will be 5 to 10 pixels depending on the resolution, it will be very good. Also, we will reduce the opacity of the layer to 50%. If we add too much opacity here to get the skin texture-out of here then the picture will not look natural.
For example: using Surface Blur (Filter> Blur> Surface Blur) will give us a slightly different look, but the process will be the same when we add Gaussian blur. We will use a radius of 5 and a threshold of 25 to get started.

Step 3 – Apply Blur to Skin
The fuzzy effect is only needed on the skin. We will not blur eyes, hair, lips, background, or clothing here. We will cover the blur with a layer mask and draw it only on the skin.
Since we have not created a layer mask before, we will select the “Smooth Skin” layer and then click on the Layer Mask tool. Notice that this tool looks like a rectangle with a circle inside. Now I will place a white rectangle next to the “smooth skin” layer.


